In a recent interview
with Digital-Tutors I was asked what market and software trends I saw
involving BIM and Revit. They were only able to include one trend in the release
but what follows are my insights in full.
Clients Want Revit
What we see at our firm, and what I know others are seeing as well, is
that savvy clients are saying their project is a BIM project and you’re going
to use Revit. I think it’s what’s forcing a lot of firms to make the
transition. Those firms that have already or are in the midst of making the tr
ansition are in a good spot. Design firms don’t want to end
up like Kodak, B.Dalton or the music industry, where they falter in adapting to
a major disruptive change in the way things are done. Revit is enabling
designers to deliver a better product, a coordinated set of design docs that
reduces construction costs and improves overall project outcomes. Who
wouldn't want that?
Analysis Isn’t Just for the Big Dogs
In terms of a multi-disciple firm, like we are, we're seeing the
incorporation of the types of analysis we do become far more accessible. As
such, it's perfectly reasonable that a small firm can now do very expensive
computation fluid dynamics analysis with tools they have on their desktop, or
even laptop, through the cloud without having a very heavy-duty computer at
all. That's a huge change. Five to ten years ago, you had to have a fairly
expensive piece of hardware and even more expensive software to run analyses.
Budgeting Woes
BIM is a major change in more than just process. Before BIM, a firm could
plan out the number of sheets they were going to create and budget off of that.
Now with BIM, the number of sheets does not matter, because you can do 1,000
sheets for a small house with little effort - hopefully you don’t have to do
1,000 sheets though! Budgeting is a difficult challenge because many firms don't
have any sort of experience in budgeting for a BIM project. It’s the Level of
Development (LOD) that needs to be used as a baseline now, in place of the
number of sheets.
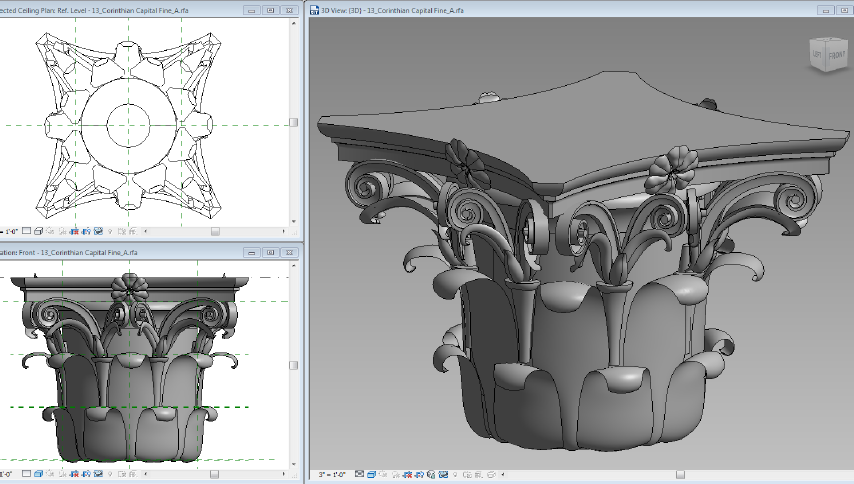
Isometric Cake Walk
Back in the day, we used to do isometric drawings, or hand draw 3D details/cutaways
of a very complex part of a building, and we moved away from that in CAD
because it was fairly difficult. Now, in Revit, it's a piece of cake and firms
are bringing them back. Those kinds of drawings are so much more useful for a
contractor, showing how things are joining up in three dimensions.
Contractors Don’t Want Your Model
What's also very fascinating is looking on the engineering side. You’ve
got MEP engineers using Revit MEP to create these systems and drawings like
they always have. On the other hand, contractors have gotten far savvier with
BIM lately, so much so that they're requiring their trade contractors, like
sheet metal fabricators, to produce fabrication models. It's come to the point
where the trade contractors say to the design engineers, "We don't want
your model. Draw a single line where you want these ducts to go, and we'll
create the model." It leaves MEP engineers in an odd position. How do you
adjust to that sort of change in the industry? I don't have an answer for that.


_of_Option_1_Waiting_area.png)


 Click for Full Size image